How do I install a musical doorbell chime?
Leave a message
Installing a musical doorbell chime can be a fun and rewarding project that adds a touch of personality to your home. As a supplier of high-quality musical doorbell chimes, I'm here to guide you through the installation process step by step. Whether you're a seasoned DIY enthusiast or a beginner looking to take on a new challenge, this guide will provide you with all the information you need to successfully install your musical doorbell chime.
Step 1: Gather Your Tools and Materials
Before you begin the installation process, it's important to gather all the necessary tools and materials. Here's a list of items you'll need:
- Musical doorbell chime kit
- Screwdriver set
- Wire strippers
- Electrical tape
- Drill (if necessary)
- Wall anchors (if necessary)
- Power drill bits (if necessary)
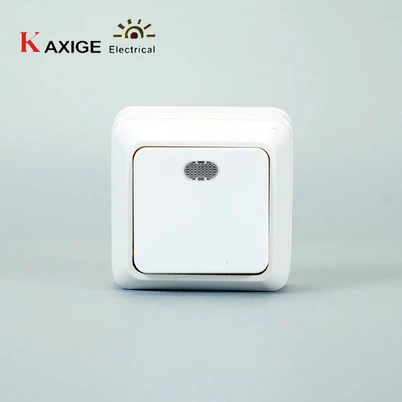
- 73B 1 Gang Switch
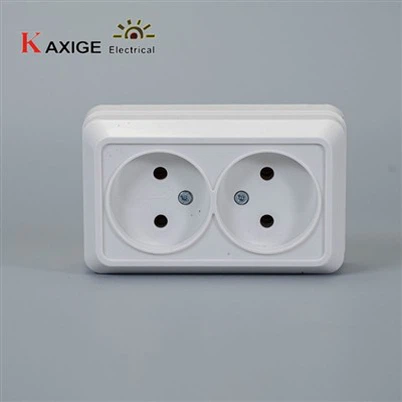
- 73B 2 Gang Sockets Grounding
- 73B 1 Gang Socket 2P
Step 2: Choose the Right Location
The first step in installing your musical doorbell chime is to choose the right location. You'll want to select a spot that is easily accessible and visible, but also out of the way of foot traffic. Some popular locations for doorbell chimes include near the front door, in the hallway, or in the living room.
Once you've chosen the location, use a pencil to mark the spots where you'll be mounting the chime. Make sure the marks are level and evenly spaced.
Step 3: Turn Off the Power
Before you begin any electrical work, it's important to turn off the power to the area where you'll be working. This will help prevent electrical shocks and other accidents.
Locate the circuit breaker that controls the power to the doorbell and turn it off. You can also use a voltage tester to double-check that the power is off.
Step 4: Remove the Old Doorbell Chime
If you're replacing an old doorbell chime, you'll need to remove it before installing the new one. Start by removing the cover of the old chime using a screwdriver. Then, disconnect the wires from the terminals on the chime.
Be sure to label the wires so you know which one goes where when you install the new chime. You can use electrical tape or a marker to label the wires.
Step 5: Mount the New Doorbell Chime
Once you've removed the old doorbell chime, it's time to mount the new one. Start by attaching the mounting bracket to the wall using screws and wall anchors (if necessary). Make sure the bracket is level and securely attached to the wall.


Next, place the chime on the mounting bracket and secure it using screws. Make sure the chime is level and securely attached to the bracket.
Step 6: Connect the Wires
Now it's time to connect the wires to the new doorbell chime. Refer to the wiring diagram that came with your chime to determine which wires go where.
In general, you'll need to connect the wires from the doorbell button to the terminals on the chime. You may also need to connect the wires from the transformer to the chime.
Use wire strippers to remove about 1/2 inch of insulation from the ends of the wires. Then, twist the exposed wires together and secure them with wire nuts.
Step 7: Test the Doorbell Chime
Once you've connected the wires, it's time to test the doorbell chime. Turn the power back on at the circuit breaker and press the doorbell button. If the chime rings, you've successfully installed your musical doorbell chime.
If the chime doesn't ring, double-check the wiring to make sure everything is connected correctly. You may also need to adjust the volume or tone settings on the chime.
Step 8: Install the Wall Switches and Sockets
In addition to installing the doorbell chime, you may also want to install wall switches and sockets to control the power to the chime and other devices. Here's how to install the 73B 1 Gang Switch, 73B 2 Gang Sockets Grounding, and 73B 1 Gang Socket 2P:
- 73B 1 Gang Switch: Turn off the power to the area where you'll be working. Use a screwdriver to remove the cover plate from the existing switch. Disconnect the wires from the old switch and label them. Mount the new switch in the electrical box using screws. Connect the wires to the new switch according to the wiring diagram. Replace the cover plate and turn the power back on.
- 73B 2 Gang Sockets Grounding: Turn off the power to the area where you'll be working. Use a screwdriver to remove the cover plate from the existing socket. Disconnect the wires from the old socket and label them. Mount the new socket in the electrical box using screws. Connect the wires to the new socket according to the wiring diagram. Replace the cover plate and turn the power back on.
- 73B 1 Gang Socket 2P: Turn off the power to the area where you'll be working. Use a screwdriver to remove the cover plate from the existing socket. Disconnect the wires from the old socket and label them. Mount the new socket in the electrical box using screws. Connect the wires to the new socket according to the wiring diagram. Replace the cover plate and turn the power back on.
Step 9: Enjoy Your Musical Doorbell Chime
Now that you've successfully installed your musical doorbell chime and wall switches and sockets, it's time to enjoy the benefits. You can choose from a variety of musical tones and melodies to personalize your doorbell and make it unique.
If you have any questions or need further assistance with the installation process, please don't hesitate to contact us. We're here to help you every step of the way.
Contact Us for Purchasing
If you're interested in purchasing a musical doorbell chime or any of the other products mentioned in this blog, please contact us to discuss your needs. We offer a wide range of high-quality products at competitive prices, and our team of experts is always available to provide you with personalized advice and support.
References
- Electrical Installation Handbook
- DIY Home Improvement Guide