How do I wire a three - way switch in an electrical circuit?
Leave a message

Hey there! I'm a supplier of sockets and switches in the electrical biz. Today, I'm gonna walk you through how to wire a three - way switch in an electrical circuit. It might sound a bit intimidating at first, but trust me, with a bit of know - how and the right tools, you can do it.
First things first, let's talk about what a three - way switch is. A three - way switch is used when you want to control a single light or a group of lights from two different locations. You've probably seen this setup in hallways, staircases, or large rooms. It gives you the convenience of turning the lights on or off from either end.
Tools and Materials You'll Need
Before you start wiring, gather these essential tools and materials:
- Screwdriver set: You'll need both flat - head and Phillips - head screwdrivers to remove and install the switch plates and the switches themselves.
- Wire strippers: These are used to remove the insulation from the electrical wires.
- Voltage tester: This is crucial for safety. You need to make sure the power is off before you start working on the circuit.
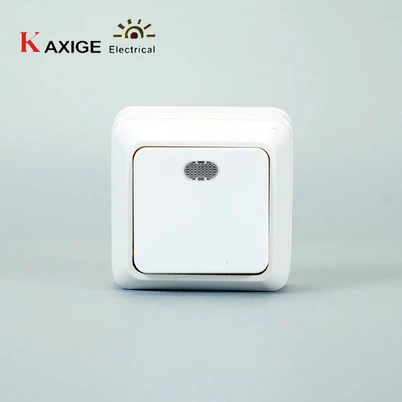
- Three - way switches: You'll need two of them. If you're looking for high - quality switches, check out our 73B 1 Gang Switch. They're durable and easy to install.
- Electrical wire: You'll need 14 - gauge or 12 - gauge wire, depending on the amperage of the circuit.
- Wire nuts: These are used to connect the wires together safely.
Safety First
Safety is super important when working with electricity. Before you do anything, turn off the power at the circuit breaker that controls the area where you'll be working. Use a voltage tester to double - check that the power is off. You don't want to get zapped!
Step - by - Step Wiring Process
Step 1: Remove the Old Switches
If you're replacing existing switches, use your screwdriver to remove the switch plates. Then, unscrew the switches from the electrical box and carefully pull them out. Take note of how the wires are connected to the old switches. Usually, there are three or four wires: a black (hot) wire, a white (neutral) wire, and sometimes a bare copper (ground) wire.


Step 2: Prepare the Wires
Use your wire strippers to remove about 3/4 inch of insulation from the ends of the wires. Be careful not to cut the wire itself.
Step 3: Connect the Ground Wires
Locate the bare copper ground wires in the electrical box. Connect them together using a wire nut. If your three - way switches have a green grounding screw, connect one of the ground wires to this screw. This helps protect you from electrical shocks.
Step 4: Connect the Wires to the First Three - Way Switch
A three - way switch has three terminals: one common terminal and two traveler terminals. The common terminal is usually darker in color. Connect the black (hot) wire from the power source to the common terminal of the first three - way switch. Then, connect the two traveler wires (usually black or red) to the two traveler terminals of the switch.
Step 5: Run the Wires to the Second Three - Way Switch
Run the two traveler wires from the first switch to the second three - way switch. You can use electrical staples to secure the wires along the wall or ceiling.
Step 6: Connect the Wires to the Second Three - Way Switch
At the second three - way switch, connect the two traveler wires to the traveler terminals. Then, connect the black wire that goes to the light fixture to the common terminal of the second switch.
Step 7: Connect the Neutral Wires
The white (neutral) wires in the electrical box should be connected together using a wire nut. This provides a return path for the electrical current.
Step 8: Test the Circuit
Once you've connected all the wires, carefully tuck them back into the electrical box. Install the switches and the switch plates. Then, turn the power back on at the circuit breaker. Test the switches to make sure the light turns on and off from both locations. If it doesn't work, turn the power off again and double - check your connections.
Additional Tips
- If you're not sure about any step, it's always a good idea to consult an electrician.
- Make sure the electrical box is large enough to accommodate all the wires and the switches. If it's too small, you might have trouble closing the box properly.
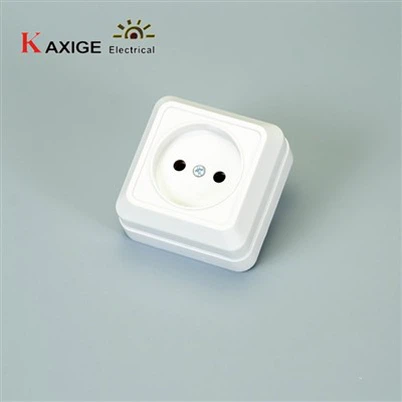
- Consider using a socket that provides a good connection. Our 73B 1 Gang Socket Grounding is a great option. It's designed to ensure a stable electrical connection.
More on Electrical Setup
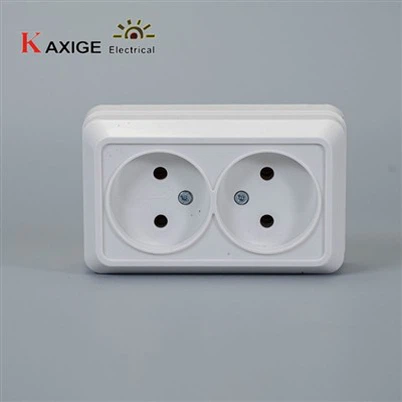
If you're setting up a more complex electrical system, you might also need multiple sockets. Our 73B 2 Gang Sockets are perfect for those situations. They allow you to plug in multiple devices at once.
Contact Us for Your Electrical Needs
We're here to help you with all your socket and switch needs. Whether you're a DIY enthusiast or a professional electrician, we have a wide range of high - quality products. If you're interested in purchasing our products or have any questions about wiring or installation, feel free to reach out to us. We can provide you with detailed product information and help you find the best solutions for your electrical projects.
References
- "Electrical Wiring for Dummies" by Steve Snyder
- National Electrical Code Handbook