How do I install an illuminated switch in a bedside lamp?
Leave a message

Hey there! I'm an illuminated switch supplier, and today I'm gonna walk you through how to install an illuminated switch in a bedside lamp. It might sound a bit tricky, but trust me, it's not as hard as it seems.
First off, let's talk about why you'd want an illuminated switch in your bedside lamp. Well, it's super convenient, especially when you're half - asleep in the middle of the night. You don't have to fumble around in the dark to find the switch. The soft glow of the illuminated switch makes it easy to locate, and it adds a cool, modern touch to your lamp.
What You'll Need
Before you start the installation process, you'll need to gather a few tools and materials. Here's a list:
- An illuminated switch: Of course, as a supplier, I can offer you a wide range of high - quality illuminated switches. You can choose the one that best fits your lamp's style and your personal preference.
- A screwdriver: You'll need this to open up the lamp base and remove the old switch. Make sure you have the right type of screwdriver for the screws on your lamp.
- Wire cutters/strippers: These are essential for cutting and stripping the wires when you're connecting the new switch.
- Electrical tape: This will help you insulate the wires and prevent any short - circuits.
Step 1: Safety First
Before you start working on the lamp, make sure it's unplugged from the power source. This is crucial to avoid any electrical shocks. You don't want to end up in the hospital because you were too eager to get the job done!
Step 2: Remove the Old Switch
Now, it's time to open up the lamp base. Use your screwdriver to remove the screws holding the base together. Once you've removed the screws, carefully lift off the base cover. You should now see the old switch and the wires connected to it.
Take a close look at how the wires are attached to the old switch. It's a good idea to take a picture with your phone or make a simple diagram. This will help you reconnect the wires correctly to the new switch later.
Use your screwdriver to loosen the screws holding the wires to the old switch. Once the screws are loose, gently pull the wires off the switch. You can now remove the old switch from the lamp base.
Step 3: Prepare the New Switch
Take your new illuminated switch out of the packaging. Check it to make sure it's in good condition and there are no visible damages.
If the wires on the new switch are too long, use your wire cutters to trim them to the appropriate length. Then, use the wire strippers to remove about half an inch of insulation from the ends of the wires. This will expose the metal part of the wires, which is necessary for making a good electrical connection.
Step 4: Connect the Wires
Now, it's time to connect the wires from the lamp to the new illuminated switch. Refer to the picture or diagram you took earlier to make sure you're connecting the wires correctly.
Generally, there will be two wires: a hot wire and a neutral wire. The hot wire is usually black or red, and the neutral wire is usually white. Connect the hot wire to the appropriate terminal on the switch, and do the same for the neutral wire.
Once you've connected the wires, use your screwdriver to tighten the screws on the switch terminals. Make sure the wires are firmly attached and there's no loose connection.
Step 5: Insulate the Wires
After connecting the wires, take a piece of electrical tape and wrap it around the exposed parts of the wires. This will prevent any exposed metal from coming into contact with other parts of the lamp or causing a short - circuit.


Step 6: Install the New Switch
Place the new illuminated switch into the slot in the lamp base where the old switch was. Make sure it fits snugly. Then, use your screwdriver to secure the switch in place with the screws.
Step 7: Reassemble the Lamp
Once the new switch is installed, carefully put the base cover back on the lamp. Align the holes in the cover with the screws in the base and use your screwdriver to tighten the screws.
Step 8: Test the Switch
Now that you've reassembled the lamp, it's time to test the new switch. Plug the lamp into the power source and turn on the switch. If the lamp lights up and the illuminated part of the switch glows, then you've done a great job! If not, double - check your connections and make sure everything is properly installed.
Other Related Products
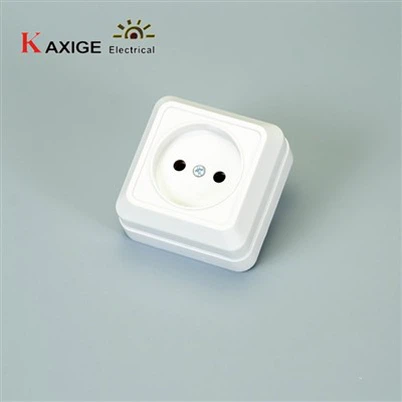
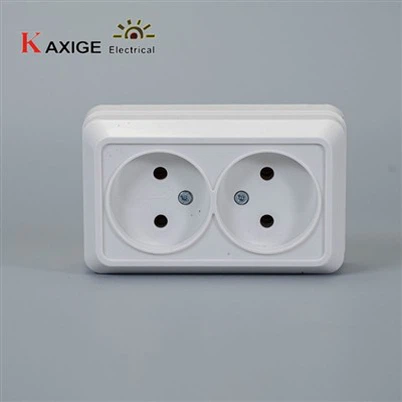
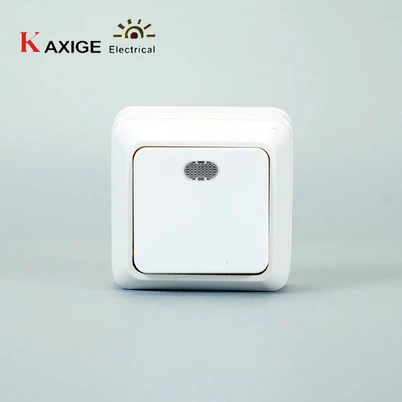
If you're interested in other electrical products, we also offer some great options. For example, we have the 73B 2 Gang Sockets, which are perfect for adding more plug - in options to your room. The 73B 2 Gang Switch is a great choice if you need to control multiple lights or appliances from one switch. And if you like the idea of an illuminated switch for your wall, we have the 73B 1 Gang Switch with Lamp Indicator.
Contact for Purchase
If you're interested in purchasing our illuminated switches or any of our other products, feel free to reach out. We're always happy to discuss your needs and offer the best solutions for your electrical projects. Whether you're a DIY enthusiast or a professional electrician, we have the right products for you.
References
- Electrical Installation Handbook
- DIY Home Electrical Guide
So, there you have it! Installing an illuminated switch in a bedside lamp is a fun and rewarding project that can make your life a lot easier. Give it a try, and if you have any questions, don't hesitate to ask.