How do I install a variable light switch with a track lighting system?
Leave a message

Installing a variable light switch with a track lighting system can significantly enhance the ambiance and functionality of your space. As a supplier of high - quality variable light switches, I'm excited to share a detailed guide on how to undertake this project.
Understanding the Basics
Before you start the installation process, it's essential to have a clear understanding of the components involved. A track lighting system consists of a track that is mounted on the ceiling or wall, and light fixtures that can be moved along the track. A variable light switch, also known as a dimmer switch, allows you to adjust the brightness of the lights on the track according to your needs.


Tools and Materials Required
- Tools: You will need a screwdriver (both flat - head and Phillips - head), wire strippers, a voltage tester, and a drill if you need to make holes for mounting the switch or the track.
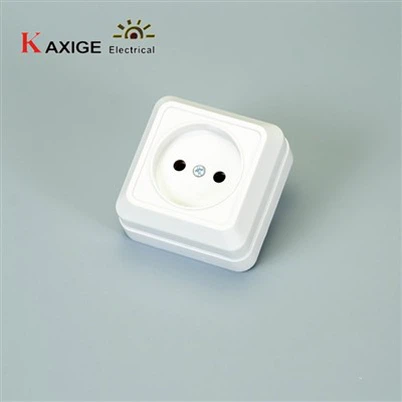
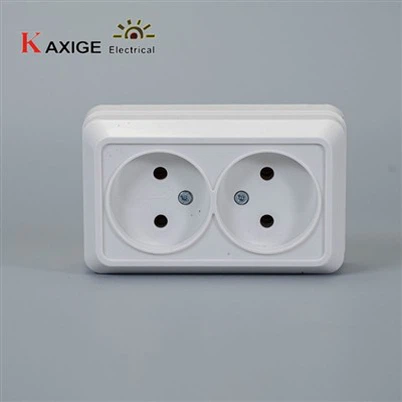
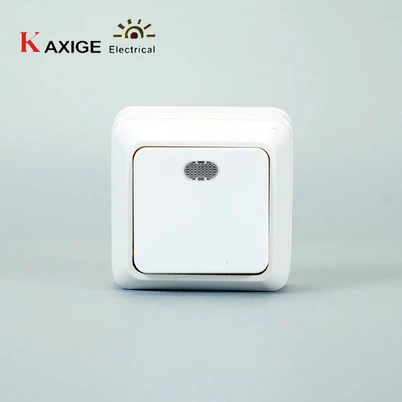
- Materials: Besides the variable light switch and the track lighting system, you'll need electrical wire, wire nuts, and mounting screws. For our high - quality options, you can check out the 73B Dimmer Switch, 73B 1 Gang Socket Grounding, and 73B 1 Gang Switch on our website.
Safety First
Working with electricity can be dangerous, so it's crucial to take all necessary safety precautions.
- Turn off the power: Locate the circuit breaker that controls the area where you'll be working and switch it off. Use a voltage tester to confirm that the power is off before you start handling any wires.
- Wear protective gear: Put on insulated gloves and safety glasses to protect yourself from electrical shocks and any potential debris.
Step 1: Mount the Track Lighting System
- Choose the location: Decide where you want to install the track lighting system. Consider the layout of the room, the areas you want to illuminate, and the height at which the track should be placed.
- Mark the mounting points: Use a pencil to mark the positions where you'll drill holes for the mounting screws. Make sure the marks are level and evenly spaced.
- Drill the holes: Use a drill to create holes at the marked points. Insert wall anchors if necessary, especially if you're mounting the track on drywall.
- Attach the track: Place the track over the holes and secure it using the mounting screws. Make sure the track is firmly attached and level.
Step 2: Connect the Track to the Power Source
- Locate the power wires: Find the electrical wires that will supply power to the track lighting system. These wires are usually located in the ceiling or wall near the mounting area.
- Strip the wires: Use wire strippers to remove about 3/4 inch of insulation from the ends of the power wires and the wires on the track.
- Connect the wires: Match the colors of the wires (usually black for hot, white for neutral, and green or bare copper for ground) and twist them together. Secure the connections with wire nuts. Make sure the wire nuts are tightened properly to prevent any loose connections.
Step 3: Install the Variable Light Switch
- Choose the switch location: Select a convenient location for the variable light switch. It should be easily accessible and within reach of the users.
- Remove the old switch (if applicable): If there is an existing switch in the location, use a screwdriver to remove the cover plate and the switch from the electrical box. Disconnect the wires from the old switch.
- Prepare the new switch: Read the instructions that come with the variable light switch carefully. There may be specific wiring requirements or settings that you need to follow.
- Connect the wires to the switch: Connect the hot wire from the power source to the appropriate terminal on the switch. Connect the wire that leads to the track lighting system to another terminal on the switch. Make sure to follow the wiring diagram provided with the switch.
- Mount the switch: Place the switch into the electrical box and secure it using the mounting screws. Attach the cover plate.
Step 4: Test the System
- Turn on the power: Go back to the circuit breaker and switch it on.
- Test the lights: Use the variable light switch to adjust the brightness of the track lighting system. Make sure the lights turn on and off properly and that you can adjust the brightness smoothly. If there are any issues, such as flickering lights or no power, turn off the power immediately and check the connections.
Troubleshooting
- No power: Check the circuit breaker to make sure it's not tripped. Also, double - check all the wire connections to ensure they are secure.
- Flickering lights: This could be caused by a loose connection, an incompatible dimmer switch, or a problem with the light fixtures. Check the connections and make sure the switch is compatible with the track lighting system.
- Switch not working: Make sure the switch is properly installed and wired. If the problem persists, the switch may be defective and need to be replaced.
Conclusion
Installing a variable light switch with a track lighting system is a rewarding project that can transform the look and feel of your space. By following these steps and taking the necessary safety precautions, you can complete the installation successfully. If you have any questions or need further assistance, or if you're interested in purchasing our high - quality variable light switches and related products, don't hesitate to reach out to us for a procurement discussion. We're here to help you create the perfect lighting solution for your needs.
References
- Electrical Installation Manuals provided by the manufacturers of the track lighting system and variable light switch.
- National Electrical Code (NEC) for general electrical safety and installation guidelines.