How do I connect a light switch to a circuit?
Leave a message
Hey there! As a supplier of light switches and sockets, I often get asked about how to connect a light switch to a circuit. It might seem like a daunting task, but with the right guidance, it's actually not that difficult. In this blog, I'll walk you through the whole process step by step.
Understanding the Basics
Before we start connecting the light switch, it's crucial to understand a few basic electrical concepts. First off, we have the power source. In most homes, the power comes from the electrical grid and enters your house through the main electrical panel. This power is typically alternating current (AC) at a voltage of around 120V in the US or 230V in many other countries.
Then we have the wires. There are usually three main types of wires involved in a simple lighting circuit: the hot wire, the neutral wire, and the ground wire. The hot wire carries the electrical current from the power source to the light switch and then to the light fixture. The neutral wire provides the return path for the current back to the power source. And the ground wire is a safety feature that helps protect you from electrical shocks in case of a short circuit.
Tools and Materials You'll Need
To connect a light switch to a circuit, you'll need a few tools and materials. Here's a quick list:
- A light switch (obviously! We offer a wide range of high - quality light switches at our store).
- A screwdriver (both flat - head and Phillips - head are usually needed).
- Wire strippers to remove the insulation from the wires.
- Electrical tape to insulate the connections.
- A voltage tester to make sure the power is off before you start working.
Step 1: Turn Off the Power
Safety first! Before you start working on any electrical circuit, you need to turn off the power at the main electrical panel. Locate the circuit breaker that controls the area where you'll be installing the light switch and flip it to the “off” position. Use a voltage tester to double - check that the power is indeed off. You don't want to get a nasty shock, do you?


Step 2: Remove the Old Switch (if applicable)
If you're replacing an old light switch, use a screwdriver to remove the cover plate of the switch. Then, unscrew the switch from the electrical box and gently pull it out. Take note of how the wires are connected to the old switch. Usually, the hot wire is connected to one of the brass - colored terminals, and the neutral wire might be connected to a silver - colored terminal or bundled together with other neutral wires.
Step 3: Prepare the Wires
Once you've removed the old switch, it's time to prepare the wires for the new one. Use wire strippers to remove about 3/4 inch of insulation from the ends of the hot and neutral wires. Be careful not to cut the wire itself. If the wires are a bit frayed, you can trim them to get a clean end.
Step 4: Connect the Wires to the New Switch
Now, let's connect the wires to the new light switch. Most light switches have two brass - colored terminals for the hot wires. Connect the hot wire from the power source to one of the brass terminals and the hot wire going to the light fixture to the other brass terminal. Make sure the wires are tightly screwed into the terminals.
The neutral wire usually doesn't connect to the light switch. Instead, it's often bundled together with other neutral wires in the electrical box and capped with a wire nut. However, some modern switches might have a neutral connection, so always check the manufacturer's instructions.
The ground wire, which is usually bare or green, should be connected to the green grounding screw on the light switch. This helps ensure that the switch is properly grounded and reduces the risk of electrical shocks.
Step 5: Mount the Switch
Once the wires are connected, carefully tuck the wires back into the electrical box. Make sure they're not pinched or twisted. Then, mount the new light switch to the electrical box using the screws provided. Put the cover plate back on.
Step 6: Turn On the Power and Test
After everything is installed, go back to the main electrical panel and turn the circuit breaker back on. Flip the light switch on and off to see if the light fixture works. If it doesn't, double - check your connections and make sure the power is on.
Other Related Products
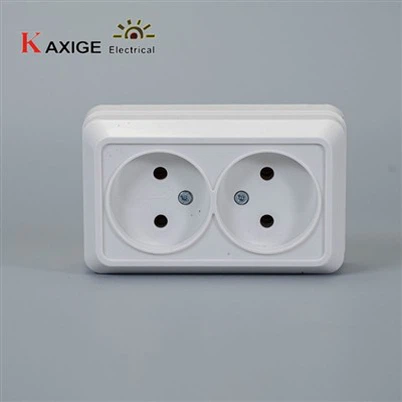
At our store, we also offer a variety of sockets that can complement your light switches. For example, we have the 73V TV Socket, which is designed to provide a stable power supply for your TV. The 73V 1 Gang Socket 2P is great for single - device use, and the 73V 2 Gang Sockets Grounding allows you to plug in two devices at the same time with proper grounding.
Why Choose Our Products
Our light switches and sockets are made from high - quality materials, ensuring durability and safety. We have a team of experts who test each product to make sure it meets the highest standards. Whether you're a DIY enthusiast or a professional electrician, our products are a great choice for your electrical projects.
Contact Us for Purchasing
If you're interested in our light switches and sockets, we'd love to hear from you. We offer competitive prices and excellent customer service. Whether you need a single light switch for a small project or a large quantity for a commercial building, we can meet your needs. Just reach out to us, and we'll be happy to assist you with your purchase and answer any questions you might have.
References
- “Electrical Wiring for Dummies” by Carson Dunlop & Associates
- National Electrical Code (NEC) standards for electrical installations